Kind of a nifty feature if you ask me: creating a portrait with inked strokes. Let me show you how to do it.
Open a picture and change it to a smart object:


Make a copy of the layer (Cmd J) and change its blend mode to lighten

Make the background layer active. Go to Filter > Pixelate > Mezzotint and choose Type = Short lines. Click Ok

Because the layer is a smart object, you can change the type later if you'd like another effect. Make the top layer active and add a black and white adjustment layer
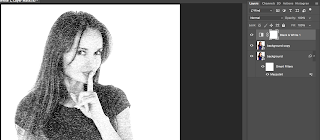
Add a new empty layer and fill it with white

Select the Elliptical Marquee Tool and draw a circle over the whole layer
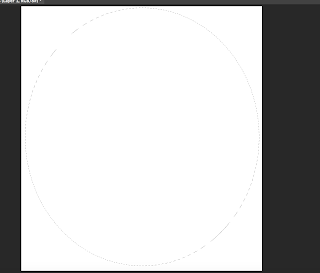
Choose Select > Transform selection. Make the size 90% on the top of your screen
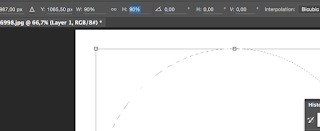
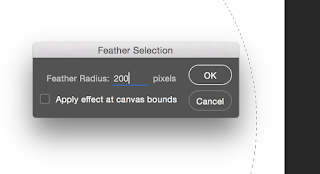
Go to select > Modify > Feather and feather it 200 px and click OK
Now we fill the selection with Black and deselect the selection (Cmd D)

Add the Mezzotint filter to the layer
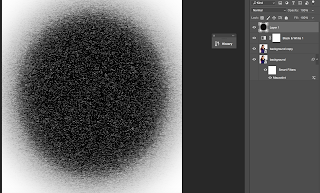
Go to your channels and click on the Load channel as selection icon at the bottom of the channel
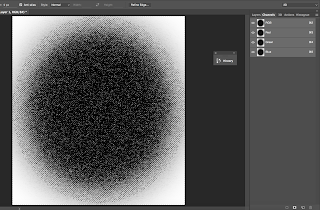
Invert the selection using CMD Shift I
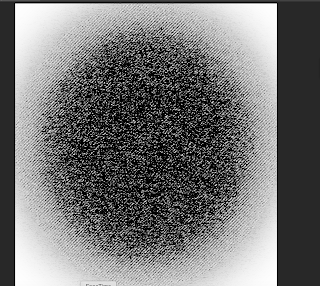
Go back to the layers panel and click Delete and deselect the selection (Cmd D)
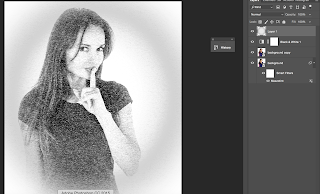
To bring some colour back into the image click on the layer mask of the black and white adjustment layer. Choose a brush with 0% hardness and an Opacity round 30%. Make the brush big and paint the face. Make the brush a bit smaller to paint over the mouth and eyes and any other parts where you want to have more colour.
There you have it: the inked strokes portrait!
By clicking on the filters you can change the effect to for example long lines


No comments:
Post a Comment